
Picking up website development can be intimidating at first, especially if you do not have any coding experience at all. Don’t worry though—this is quite normal, and soon enough, you’ll learn that there is more than one way to accomplish your goal. For example, you do not really need to know how to code in order to set up a website and have it running with WordPress. This short guide is meant to serve as an introduction to website development using WordPress for readers of all skill levels and ages.
Website Hosting and Installation in Chicago
There are numerous hosting options out there, from free to paid, and the best one for you might be a free hosting solution. If you want to develop a simple presentation website, portfolio, or blog, a free hosting platform will work just fine. However, if you need something a bit more complex, or if you’d like a full range of options and performance, you will want to go with a paid solution.
You will also need a domain name. There are free options, but you will have an extra domain name attached. For example, if you host a free website on WordPress.com, your domain will look something like this: yourdomain.wordpress.com. For most users, this is not a professional look, so buying a domain name should be a priority. Don’t worry, it is not an expensive investment—you can generally find a good name for anywhere between $2 and $10 per year. It’s also worth noting here that WordPress.org is a different entity that offers a paid option with a full range of features.
Once you’ve set up the domain name and hosting for your website, it’s time to install WordPress. The process will vary on a case by case basis, with some hosting providers offering one-click-install solutions, and others offering access to the server’s cPanel, from which you can setup WordPress using an app installer such as Softaculous. Worst comes to worst, you can install WordPress manually, which is a process that will teach you how to add and remove files from your hosting server in the process.
The Design Stage
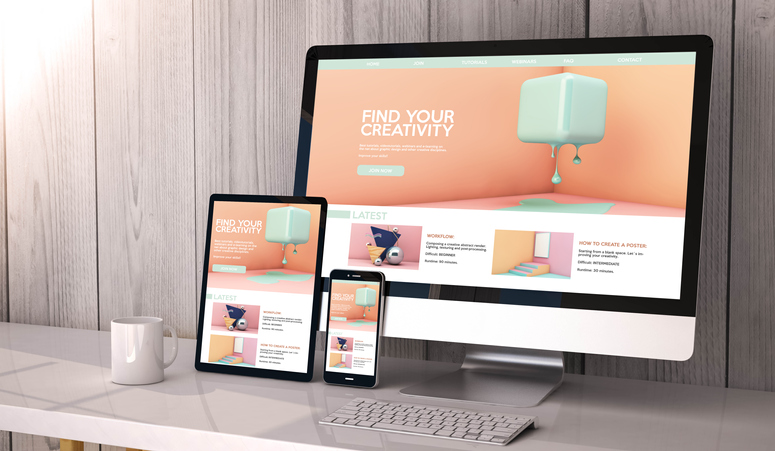
With the backend up and running, it’s time to start building the website itself. You will have to log into your admin dashboard, by accessing https://yourdomain.com/wp-admin (where yourdomain.com is your actual domain name). WordPress offers thousands of free themes that can be customized without a single line of code, and they are all very easy to find and implement. All you have to do is go to ‘Appearance’, and then ‘Themes’ in the admin dashboard, find a theme that you like, and then click ‘Activate’. You can also use keywords to help you in your search (for example, you can search for “responsive” if you want a website that will look good on any screen size). Once the theme has been activated, you can go to ‘Customize’, under the ‘Appearance’ tab, and start tinkering.
Adding Your Content
Now that the theme is installed, it’s time for the last step: adding the content. Adding new pages to the site is very easy when using WordPress. All you have to do is find the ‘Pages’ tab on the Dashboard and click ‘Add New’. This will open up a text input box where you can add all the content to the page, including images, headlines, formatting, and more. You can then add the page to your site’s menu/navigation bar so that your website visitors can find your pages easily. All in all, WordPress is a very easy-to-use platform if you want to pick up website development in Chicago.
If you need help designing, managing, or hosting a website for your Chicago business, contact Digital Destination today for a free quote. We are the premier developer of new website designs in Chicago.